Site-visit checklist
Take construction photos you can understand months later.
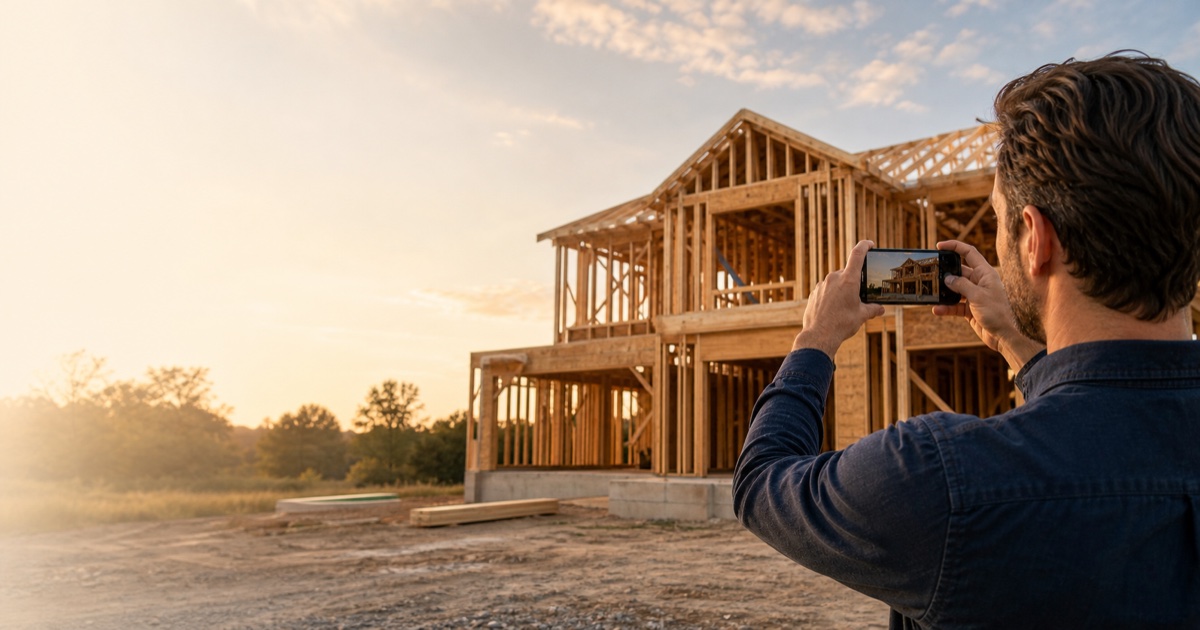
At every visit, photograph the full exterior, then move room by room using the same route. Start with wide context images before capturing details, labels, measurements, or concerns.
What should I photograph at every new-home construction visit?
Capture the address or lot marker, every exterior elevation, a wide image from each room entrance, each wall clockwise, ceilings and floors, visible building systems, labels and measurements, and three levels of context for every concern.
Before the visit
- Confirm site-access rules with the builder and never enter an unsafe or restricted area.
- Charge the phone, confirm the date and project phase, and note the purpose of the visit.
- Bring the prior visit's open questions so you can photograph what changed.
Repeat this sequence
- Street view, lot, address or lot marker, and every exterior elevation.
- One wide image from each room entrance, then each wall clockwise.
- Ceilings, floors, windows, doors, closets, stairs, and transitions between materials.
- Mechanical, electrical, plumbing, low-voltage, and ventilation details visible at that phase.
- Model numbers, labels, measurements, and a wider context image showing where each detail sits.
- Any concern from far away, at medium distance, and close enough to show the condition.
After the visit
- Rename or caption the important images while the location is still obvious.
- Separate observations from items that require builder follow-up.
- Record who was notified, what was promised, and the date you expect an answer.
How should construction photos be organized?
Keep each photo with its visit date, construction phase, room or exterior area, and a factual caption. Link any builder question or follow-up item to the related wide and close-up images so the evidence keeps its context.
This checklist supports personal documentation and does not replace a licensed inspection, builder guidance, or site-safety requirements.
Continue documenting
Related homeowner guides
Pre-drywall documentation
Preserve framing, routes, blocking, and measurements before the walls close.
Open the pre-drywall guide →30-day warranty checklist
Turn early move-in observations into an evidence-backed builder submission.
Open the 30-day guide →Keep each photo tied to the visit and follow-up.
Home Storia organizes captures by phase, area, action, and warranty status.